
In 2016 artist Ella Medley-Whitfield worked with teacher Ed and Year 1 at Montem School on the exhibition Imagine Islington.
53 Cross Street

53 Cross Street, Islington is a grade II-listed Georgian town house, built in 1785. Its first owner was Thomas Vernon, but many different people have lived there over the years including the Tiley family, who ran a metal engraving business in the back yard. During the 1990s, Martin King moved in and started to explore the house. By this point the house had been converted into bedsits.
Martin sought to investigate the history of the house, removing the layers of intervention to rediscover the house’s Georgian character. He removed fake walls, looked under floorboards and peeled off wallpaper, collecting the traces of those who had lived in the house before him. In the process he found hidden treasures, such as historic wallpaper fragments, pieces of clothing and adornment, old toys, bottles and WWII artefacts. He also found a hidden message behind some nailed-up shutters. Tucked inside a bloodstained and much-darned stocking was a piece of wood inscribed ‘George Shaw went to Aameica, March 1785’.
Martin took photographs of the process, revealing a house covered by a thick veil of dust and filled with the decaying memories of a forgotten time. Montem Primary School chose to work with three of the found objects, a Victorian child’s shoe, glasses and belt buckle, as well as exploring the wallpaper fragments and context of the found objects.


Activity 1: Detective game (Link to all three objects)
- Get everyone sitting in a circle. The pupils are to be detectives.
- Either give them verbal clues about the objects. Pupils have to use the clues to discuss in groups what they this the object is.
- Or give pupils visual clues about the objects, showing them different parts of it. Pupils have to use the clues to discuss in groups what they this the object is.
- Encourage debate, intrigue and curiosity.
Activity 2: Chinese whispers (Link to all three objects)
- Get the group to sit in a circle. Show them one of the objects.
- Ask one child to make a story up about this found object. Pass the story around the circle in Chinese whispers.
- Have multiple stories going around the circle at the same time.
- Encourage imagination, expression and exploration of all the possible histories of the mystery object.
Activity 3: Find 53 Cross Street (Link to all three objects)
- Use google maps to find Cross Street. Where is it compared to your school? Who might have lived in the house.
- n.b. the museum has lots of information about the house, including photos of the interior and census records about who lived there if you want to use them.
Activity 3: ‘In Someone Else’s Shoes’ (Link to shoe)
- Find a selection of shoes, all different sizes and types.
- The group sits in a circle and takes turns to pick out a pair of shoes. They need to imagine who the shoes might have belonged to. Encourage children to be as precise as possible, imagining the person’s name, age, job, where they lived, when they lived etc.
- Taking turns, each pupil puts on their chosen shoes. The rest of the group asks them questions about the person they had become.
Activity 4: Super power shoe designing (Link to shoe)
- In smaller groups design a super power shoe. Get the children to think about the design, its purpose and what it will be made from. Encourage groups to use descriptive language.
- Encourage children to use different drawing materials. Montem used watercolour paper and watercolour pencils so they could experiment with smudging techniques.
Activity 5: Clay shoes (Link to shoe)
- Get children to study the shape of the shoe, focusing initially on the sole. Children draw their own shoe soles, ensuring they are not too small. Cut out the sole template. Roll out some clay, place the sole template on top and use the tools to cut round it, creating a clay sole. Be careful the clay sole doesn’t stick to the table.
- Then children can start to build up the ‘shoe walls’ to create 3D shoes. Focus on creating the basic shape before adding any decoration.
- n.b. we use fast drying clay as it doesn’t need to go in a kiln. We worked on boards and used plastic clay tools.
Activity 6: View master interpretation game (Link to all three objects)
- You’ll need a frame made out of card and some old images. Islington Museum has lots of images of people and buildings from Victorian Islington that you can use.
- The teacher describes what they can see through the view master.
- The children have to draw what they describe, interpreting what they think the teacher is looking at. Make sure they don’t see the image!
- Show the children the image you were describing. Talk about their different interpretations.
- Then switch and let one of the children be in charge with a new image.
Activity 7: Mark making through Victorian games (Link to shoe)
- You’ll need a collection of Victorian inspired mark making tools. We used skipping ropes, hoops and skittles. Also good are marbles and balls.
- Outside, perhaps in the playground, lay a giant sheet of paper. You might need children standing a each end to hold it down.
- The children take turns in groups to dip their mark making tools in paint and experiment with them to create marks on the paper. Dip the marbles, ball and hoops in paint and roll them on the paper. Dip the ropes in paint and play a Victorian skipping game with them on the paper. Dip the skittles and ball in paint and play skittles.
- As well as learning about Victorian childhood, you’ll encourage experimentation, teamwork, playful explorations and manual dexterity.

Activity 8: Wire glass making and fantasy film dipping (Link to glasses)
- You’ll need drawing wire, some pliers for the teacher to cut the wire, and cellophane or’ dip it fantasy film.’
- Explore the shape of the glasses
- Give each child some pieces of wire, show them how to bend it to create circles. Show them how to join the pieces of wire to create glasses. This is challenging but encourages fine motor skills, patience and structural skills.
- Once the glasses are finished you can dip the circles into fantasy film. When it drys it will create a coloured plastic ‘glass.’ Our pupils found this a bit challenging, and the smell was a little toxic if you were doing it indoors. An alternative would be to attach coloured cellophane instead to the wire to create coloured glasses.
- The children loved wearing the glasses for role play!
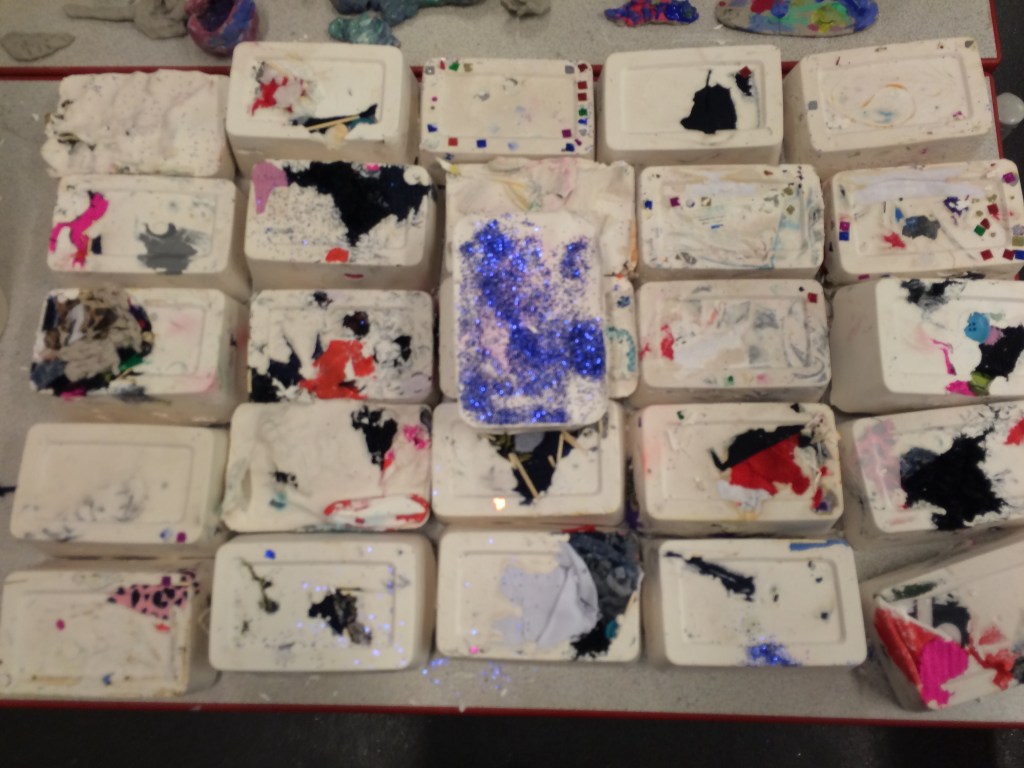
Activity 9: Mixing paint pigments (Link to wallpaper)
- This is messy so you may wish to do it outdoors. You’ll need powder paint, palettes, paintbrushes and water.
- Discuss how paints were made in the past. Link to the wallpaper fragments focusing particularly on the hand painted examples. Where would the artist have got the paint? How would they have mixed it up?
- Place some powder paint in the palettes. Show the children how to add water slowly, mixing to get the right consistency of paint.
- Then let them experiment.
- Keep the paints created for your own wallpaper art.


Activity 9: Wall stencil making (Link to wallpaper)
- Have a look at the shapes and patterns on the wallpapers. Discuss that you think the different designs represent. Look for repeat patterns, how do you think they were created?
- Introduce the children to the idea of stencils.
- You’ll need card, pencils and scissors. Get the pupils to draw their own stecil design. Discuss what shapes make the best stencils. If appropriate, you could design stencils that explore symmetry.
- Pupils cut out their stencils. You can use your home-made paints to test them out on sugar paper. Remember to encourage children to create repeat patterns.
Activity 10: Mark making with school objects (Link to the shoe, wallpaper and Victorian childhood)
- Start by discussing the similarities and differences between school in Victorian times and today. You can use the Victorian child shoe as your starting point, imaging who might have worn it and what their life would have been like in Victorian Islington.
- Then create your own school inspired printed wallpaper. You could use both modern and historical school objects as printing tools. Ones that we found worked particularly well were rulers, building blocks (esp lego), marbles, sharpeners and the bottom of pencils.
- You’ll need paint trays, paint and sugar paper.
Activity 11: Clay lost object making and painting (found objects)
- Introduce the idea of found objects inspiring art. There are many historic and contemporary artists that use found objects in their practice. You could explore the work of Picasso, Henry Moore or Damian Hirst.
- We’re going to make an installation art piece inspired by the Victorian found objects.
- You could either discuss with the class real objects they have lost or imagined lost objects. Encourage pupils to tell the stories of their lost objects. Describe the objects? How did they become lost? What do you think happened to them after they were lost?
- Use fast drying clay to build a small sculpture of the lost objects.
- Younger children will tend to create 2D pictures of their objects from the clay. Encourage them to build 3D by thinking about the 3D shape, holding the clay in their hands to work on it and continually rotating the clay to work on all sides.
- Once dry, the objects can be painted.
- Place them on a shelf or in a cabinet.
- You could extend this activity by creating labels for your objects. These could either be museum labels telling us the story of these lost objects or luggage labels asking for the object to be returned if it is found.


Activity 11: Lost property memorial bricks (found objects)
- Introduce the idea of found objects inspiring art. There are many historic and contemporary artists that use found objects in their practice. You could explore the work of Picasso, Henry Moore or Damian Hirst.
- Explore the idea of 53 Cross Street as a memorial to all those who had lived there. It contains little fragments of their lives, hidden under the floorboards and on the walls, in the very bricks of the building.
- Montem explored their own school building and playground, looking for little momentos of their lives hidden there. They found small lost objects, clothes in the lost property and forgotten homework.
- They placed these objects carefully into brick moulds. They spent time cutting the pieces of cloth and paper into the right shapes, while discussing which objects they thought best represented their lives in the school building.
- The teacher then separately mixed and poured plaster-of-paris into the moulds. Please ensure you read the instructions before using the plaster, keep well away from children and wear appropriate safety material.
- Once set the plaster bricks can be taken out of the moulds. You should see glimpses of the objects hidden within peaking through the plaster.
- We used the bricks to build a wall installation.


Want to know more:
Click here to find out more about the final artworks created by Montem Primary School and Ella Medley-Whitfield as part of the Imagine Islington Project.


Leave a comment